fbpx

【牆壁修補】牆身甩灰,新手DIY三大步驟!附工具清單,五金鋪就買到!

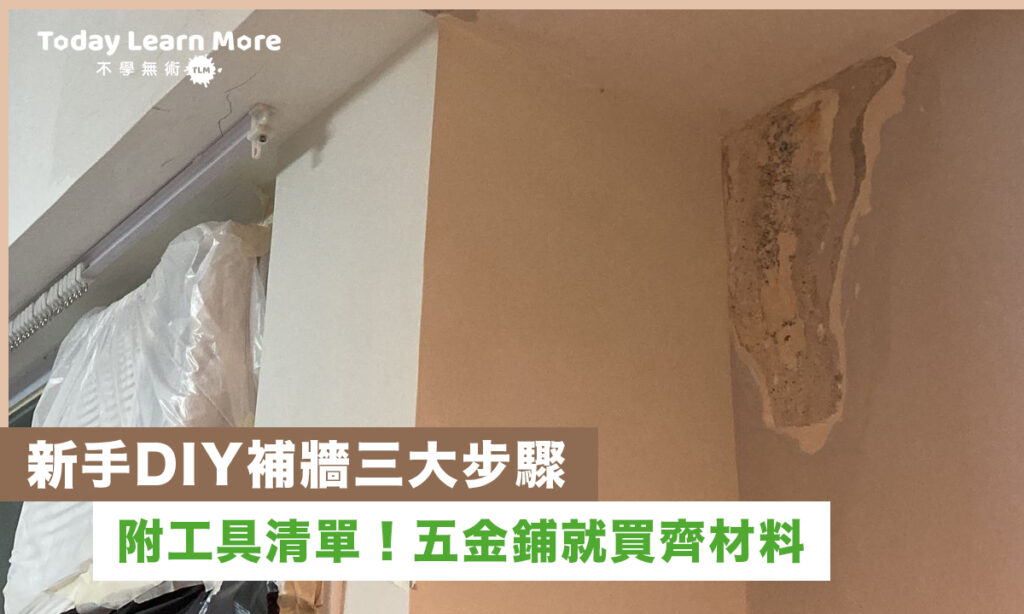
當牆身灰層出現剝落,緊記不要直接上油漆。正確步驟是用要把鬆脫的灰層鏟乾淨,讓牆身表面貼服再開始修補。

DIY修補牆身剝落步驟

▸ 步驟 1:用剷牆刀或小漆鏟剷走鬆脫灰層

▸ 步驟 2:剷後牆上會有灰塵,用雞毛掃作基本清潔

▸ 步驟 3:如牆身剝落的範圍大,髹上一層水司拿作封固,如範圍只有20cm以內則可省略

▸ 步驟 4:待司拿乾透後,就可以批灰。一般批兩至三層,直到牆身平直。記得每一層底灰都不要批得太厚,乾透先可以批下一層

▸ 步驟 5:灰層乾透後,用砂紙省走凹凸不平的地方,再重新重新髹上油漆即可

工具清單

• 剷牆刀 / 小漆鏟(步驟1)

• 水司拿+油掃 (步驟3)

• 批牆灰、灰板、灰匙、水砂紙240-300號(步驟4)

• 乳膠漆、油掃/油轆(步驟5)

想解決家居常見家居問題?居家DIY實戰班幫到你!

『屋企潮濕牆身發霉』、『搵師傅維修好貴』、『睇完YouTube教學都唔識』…你有無試過面對呢啲常見居家維修疑難而又徬徨無助?一日時間,你可以學到「六大」居家維修必備範疇,以後唔洗再怕遇到問題唔識處理!

Privacy Settings
We use cookies to enhance your experience while using our website. If you are using our Services via a browser you can restrict, block or remove cookies through your web browser settings. We also use content and scripts from third parties that may use tracking technologies. You can selectively provide your consent below to allow such third party embeds. For complete information about the cookies we use, data we collect and how we process them, please check our Privacy Policy
Youtube
Consent to display content from - Youtube
Vimeo
Consent to display content from - Vimeo
Google Maps
Consent to display content from - Google